This crude mockup gave me the basic idea of what I had to do to make the four sides self storing and allow for the thickness of the material but, a more refined scale model would be required.
Making use of one of the shipping pallet 2x4's I cut out a frame that was 16" square to represent the 77" fan square opening.
I had some scrap 1/2" OSB and that would be the same thickness as the final sides. I also had 30 door hinges that I got at a yard sale for $5 to use.
Now not to get to far ahead of myself there were a ton of considerations that had to be accounted for if this was going to fit together and be air tight. So a study of the plans for a standard KW tunnel had to be consulted. Keep in mind that the outside dimensions of the KW tunnel were the inside dimensions for the attachment point from the connector to the KW tunnel. Then further consider that the thickness of the 1/2" connector material needed to be planned for. One mistake and a $80 sheet of 1/2" MDO plywood was scrap. I was as nervous as a long tailed cat in a room full of rocking chairs!
I would like to say it was as easy as it looks but for those of you that have built things like this you know that would be a lie.
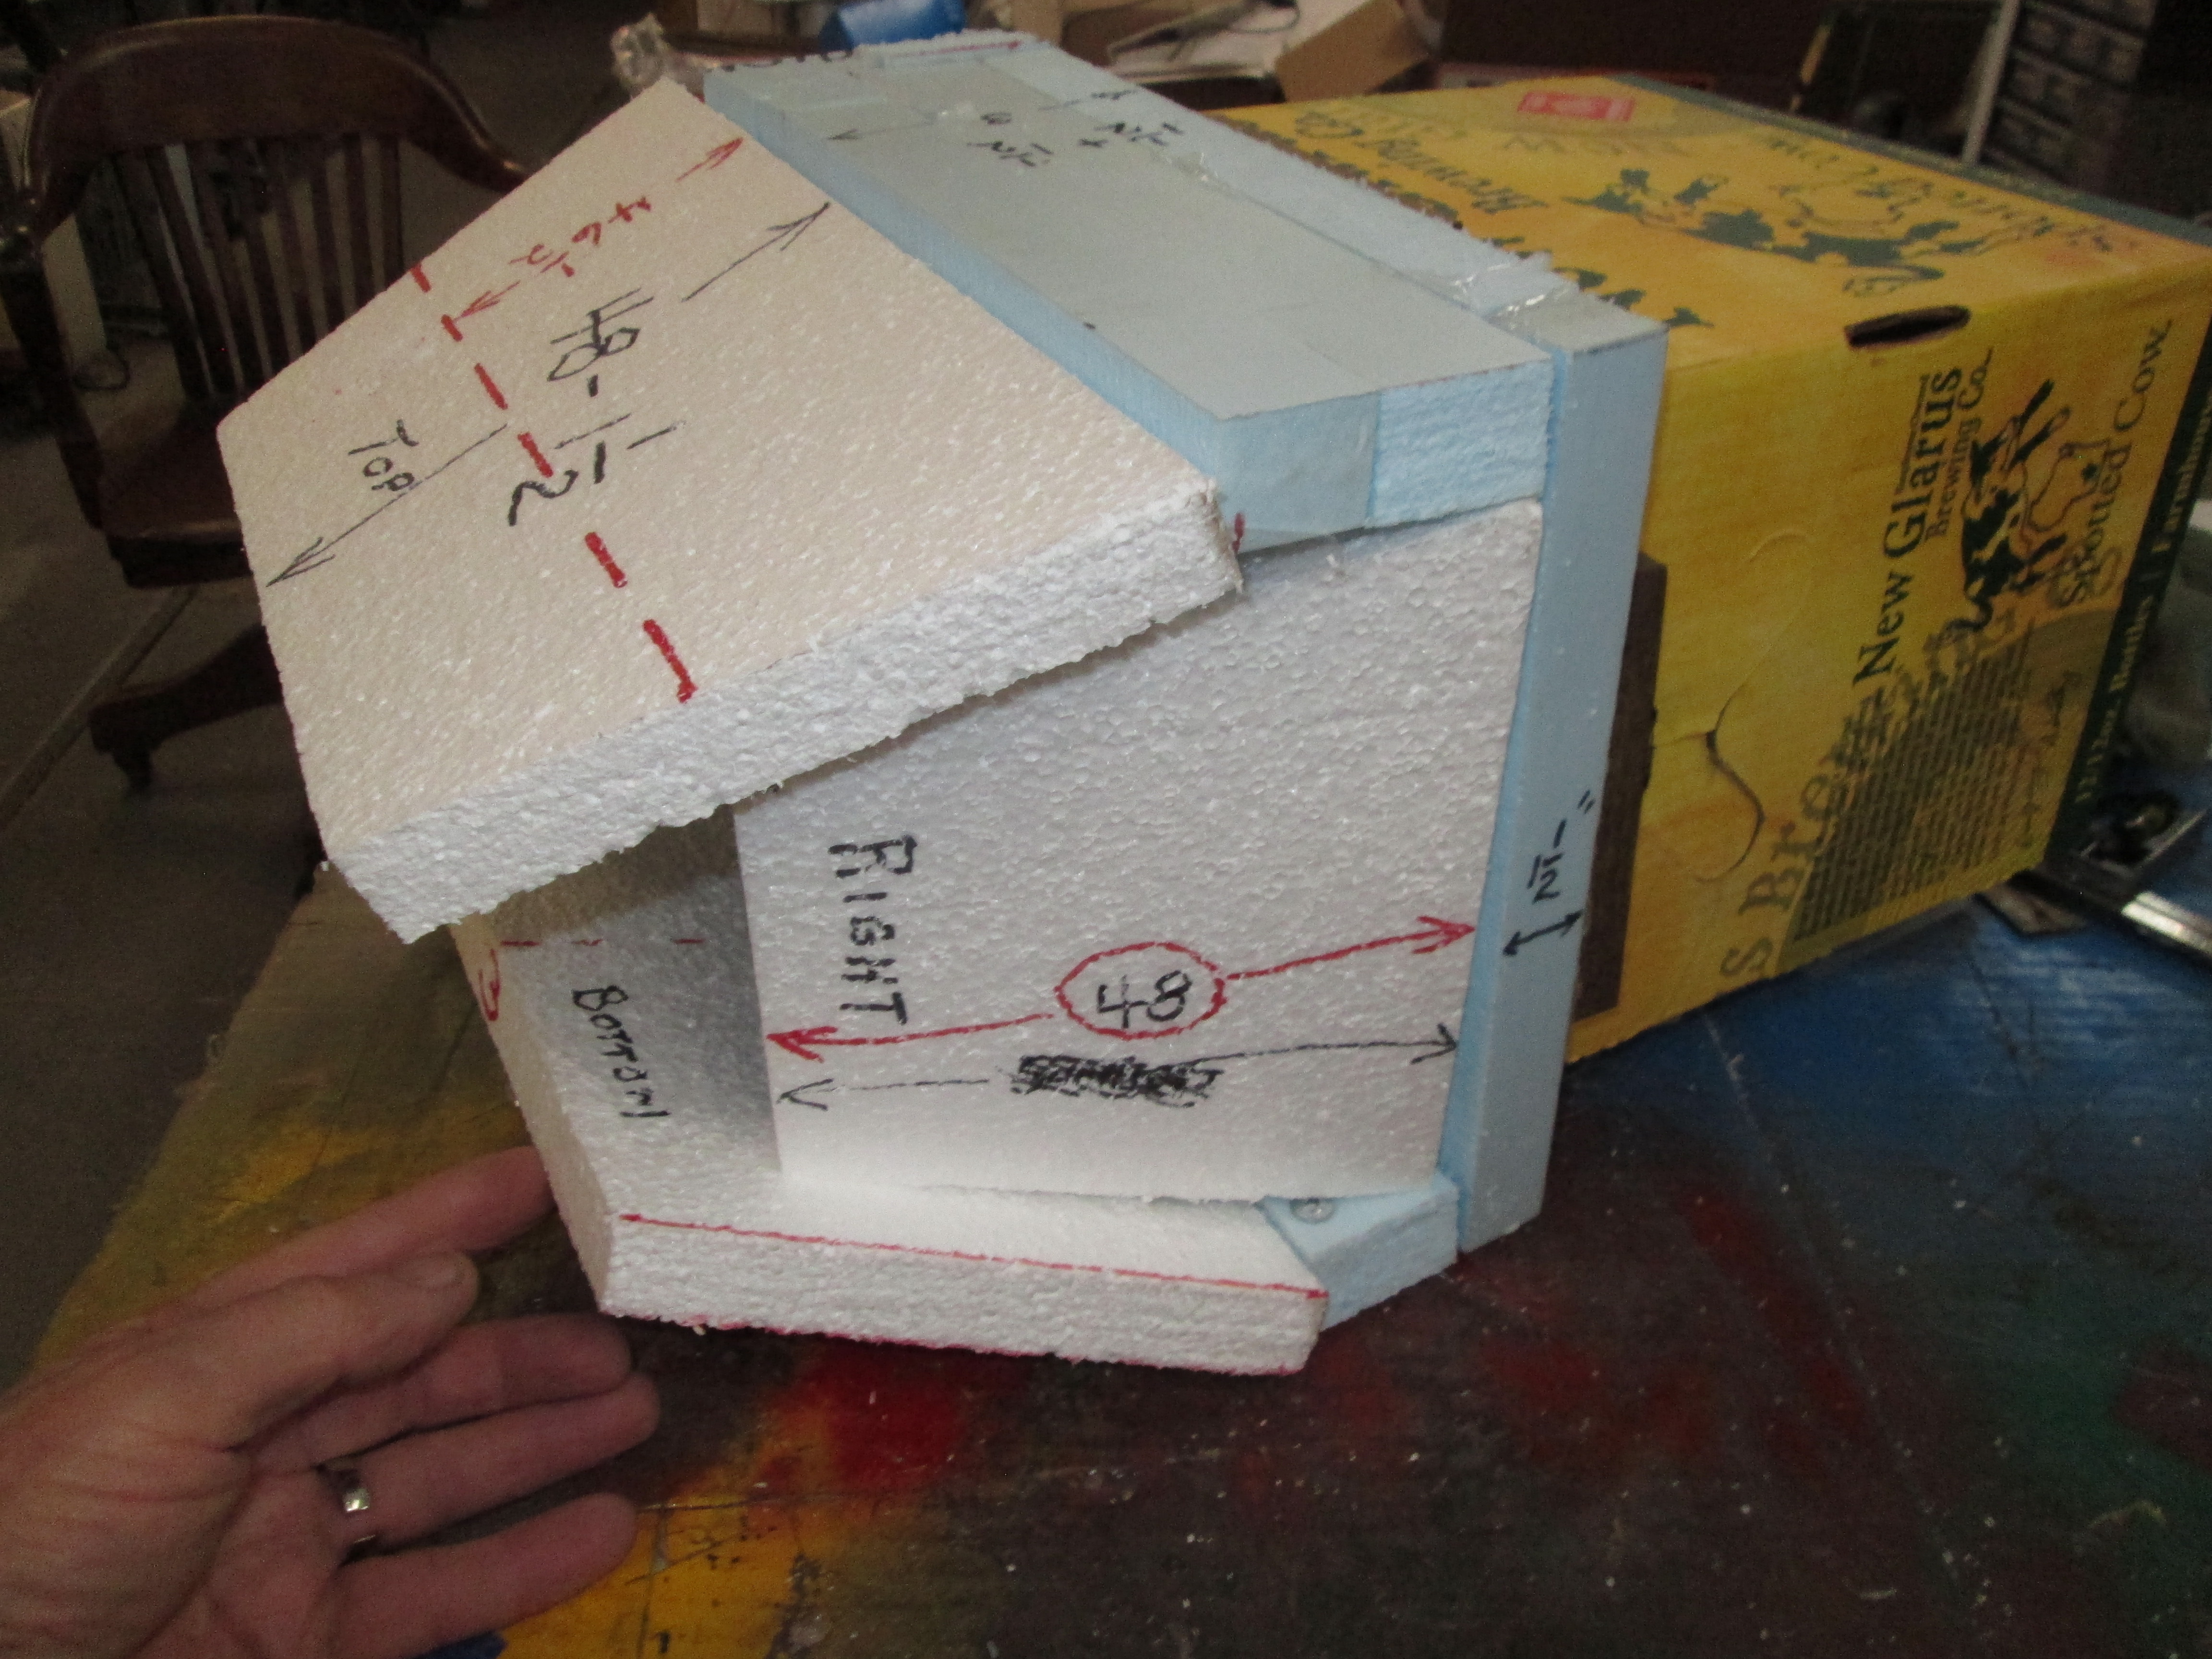
The trick is for the sides to be able to fold in like this over the bottom piece. Then the top would cover the sides. The light colored piece at the top was key to building in clearance for the folded pieces. This also complicated the measurements and layout.
Seeing it in action was sweet but it took a bit of head scratching for a left hander like me. Notice how the top piece closes down and locks in the other three. This will make it secure in transport.
Sealing the hinge gaps between the connector and the fan will be done with a piece of foam attached to the edges of the 1/2" side sheets. Compressing the foam when the side is raised up.
OK enough with the models. As they say "Are you going to fish or cut bait?" It was fishing time. Cutting the front pieces and attaching them was the first step. This would hold the fan into the mounting frame and give me a place to attach the hinged side pieces. If you think about this project, imagine having a 77" bow window in your front yard and then building a house around it!
Here the 4 framing pieces have been attached. You can see the model close by for reference.
How were the hinges going to be attached? Good question. I decided to use 1/4" carnage bolts. The smooth heads were a plus. However the old, "you can't put a square peg into a round hole", was knocking at my door. So I had to file the hinge holes square to make the carriage bolts work.
There is a method to all this madness. The bottom piece would be cut and attached first. Then this would provide support for the two side pieces when I assembled them. Remember we are building a house around our bow window.
Two side pieces are cut and ready to be installed. Notice the angle iron piece on the edge of the bottom piece. This would would eliminate all the trouble I had when making the model.
I will have to say it was a good sight to see and it fit!
And it worked! The left and right sides get folded in first. Then the bottom folds up and the top (not shown yet) drops down.
So here you can see the three pieces folded up and the top piece is ready to be cut out. Tomorrow I will add it and finish the Connector.
Then it will be on to constructing the platform to raise up the standard KW tunnel. I am thinking of making the platform foldable also for easy storage and transport. It has to be strong because students will be crawling around on top of it to lock down their turbines. I will also need to come up with a track and rail system to secure turbine bases, no matter what their design. So the big bad wolf can huff and puff and not blow them over. The towers will be left standing!


making progress Dick -- is there light at the end of the tunnel?
ReplyDelete