Friday, March 29, 2024

Egypt #93 and Panama #94


Well the joke is on me. I just realized that for the past couple of months I have been posting my Variable High Speed wind tunnel project on this Duct Tape Blog instead of my Bridges2thefuture.blog This technology is tricky for an ol' dinosaur like me.

Anyway here are the latest additions to the World Duct Tape collection. #93 came from Egypt by way of Tammy Boyle from Darlington while on vacation there. The thing I find most interesting about the collection is how it makes connections between people and world events. For example, my wife works at the Johnson Library in Darlington. The head librarian Candi, heard about the collection from my wife and Candi, contacted her friend Tammy. Then a few days later I am reading the newspaper and there is an article titled, "Egypt floats its currency" that caught my attention. If not for the tape I would have just passed over the article. Because of the World Duct Tape collection I now have interest and read it. I learn something I never knew existed. Not that I understand what is going on with Egypt's currency fund but now I know it exists.

The next roll came from Bob Boyle, a retired teacher and coffee buddy that likes to travel and while on vacation in Panama got this roll. The roll is signed by the sales clerk where he bought it.

So only 6 more roles to go until I have Duct Tape rolls from one half of the countries in the world.  At 100 roll I will launch a major effort to complete the collection. With your help I will get to 100 rolls and beyond. Contact me if you get a roll and I will reimburse you for the roll and send you a 1 or 200 World Duct Tape coin.


Sunday, February 25, 2024

New wind tunnel data collection improvements


First item of business was to determine if the frequency drive control system interfered with the LabQuest data system. Answer - No interference.

Lets collect the rotor RPM speed. This will be done using a Hall effect sensor and a magnet. This is the sensor unit. It will send a signal to the circuit each time the magnet passes the sensor.

Two magnets for balance are taped opposite polarity into the holes in the KidWind 64 tooth gear. The sensor is held in position with velcro tape. 

Cable management has been improved by taking Aaron Johnson's idea. The cables used to connect to the turbine being tested are attached to a board as shown. This leaves only the two alligator clips to be placed on the generator leads loose in the tunnel. The Go Direct collection unit is now out of the tunnel and out of the way. No chance of wires being caught by a rotor blade.

The other two ends are routed through holes drilled into the test chamber and then go to the Go Direct collection unit. The other green wire in this case is the connection for the RPM sensor if used,

The LabQuest and Go Direct units have been placed on a piece of foam core with fitted pockets and the whole thing sits above the fan control box. This will do well for the standard KidWind generator testing using the LabQuest unit limited to 1 amp and 30 volts.

To get around the voltage and amperage limitations for $5 I bought a 0-100 volt meter and 0-10 amp ammeter unit. It needs a power supply and I was able to recycle one from an old 12 volt wireless phone. It is note worthy that during this test when the load resistance was lowered the torque on the generator could be felt increasing. This piece of the puzzle needs more looking into and measured.

OK so now this is getting a bit more complex. On the left is a 25 watt 0 to 100 ohm rheostat for loading the generator. A calculator for figuring out the wattage produced by the generator. The 0-100 volt and 0-10 amp meter display. And last the RPM led display. This would take care of the physical display for all the data collection devises.

After a few You Tube video's and some head scratching it was time to draw out the wiring schematic. Each unit (volt/amp meter and RPM sensor) would get its 12 volt operating power from the recycled phone transformer. The 0-100 ohm rheostat would be wired in series with the ammeter.  

OK so here is the physical wiring of the components.  Doing this gives one more appreciation for the work done by Tuescher Electric on the Control box for sure.

And here is the new data collection system and a test run of some data collected with it.
Now to make use of it.


Monday, February 19, 2024

Third trailer is the charm


I remember at last years National KidWind Challenge watching the NREL folks unloading their wind tunnel from the semitrailer with the huge fork lift. I should have realized that there would be more to building a variable high speed wind tunnel than just getting a big fan. 

Moving the wind tunnel and getting 240 volt power to it would require considerable thought, time and effort. Here is trailer number three. A 6' by 12' aluminum beauty borrowed from one of my coffee buddies.

First item of business was to fill in the gaps on the ramp so the 3" wheels on the tunnel would not hang up.

Then to fasten a piece of thin band stock to the back side to hold the fillers in place when the ramp was folded up for travel.

Needed to figure out how to attach a winch to the front without drilling into the trailer. Lucky I had the bottom roller left over from trailer #2 to recycle.

And there we have it. Ready to crank and load?

I had learned of the problem with the straight wheels on the back end. These solved one problem when loading but created another steering when trying to move the fan around from place to place.

I would solve this problem by adding another caster wheel that could be raised or lowered. I could screw this caster wheel down for general movement on the floor when the other two were raised.

OK, time to load this puppy. Several orange plastic strips were placed to lessen the uneven steps between sections of the trailer.

This was going to be a full on loading test so the base and the test chamber had to be folded up and put on carts to be moved around.

All this was designed to be loadable by a single person. That way for sure two people could make short work of it.

Things are going pretty good so far. You can see the base against the fan and the test chamber ready to go.

OK the Variable High Speed wind tunnel is loaded!

Ready to give it the road test and see how it pulls at 55 mph. But what about a generator to run it?

Another coffee buddy to the rescue! There was room on the 12 foot trailer for his 7500 watt generator to ride.

Did anyone say 240 volts? Did not see this coming.

Not to worry. Just need a good ol' adapter. Right? Well there is a story to tell but lets just say I learned exactly what is means when it says 125/240 volt connection. I learned the hard way that what is shown here would not work.

This is the style plug I needed to power up the fan motor.

I got the plug I needed and wired it up after some considerable head scratching.

Now you would think that after all this it would work. So did I but what you are looking at was the new problem that I did not figure out until I was half way down the road to consult with Tuescher Electric what the problem might be. Luckily it dawned on me that I had not plugged in the fan motor to the control box. Idot!

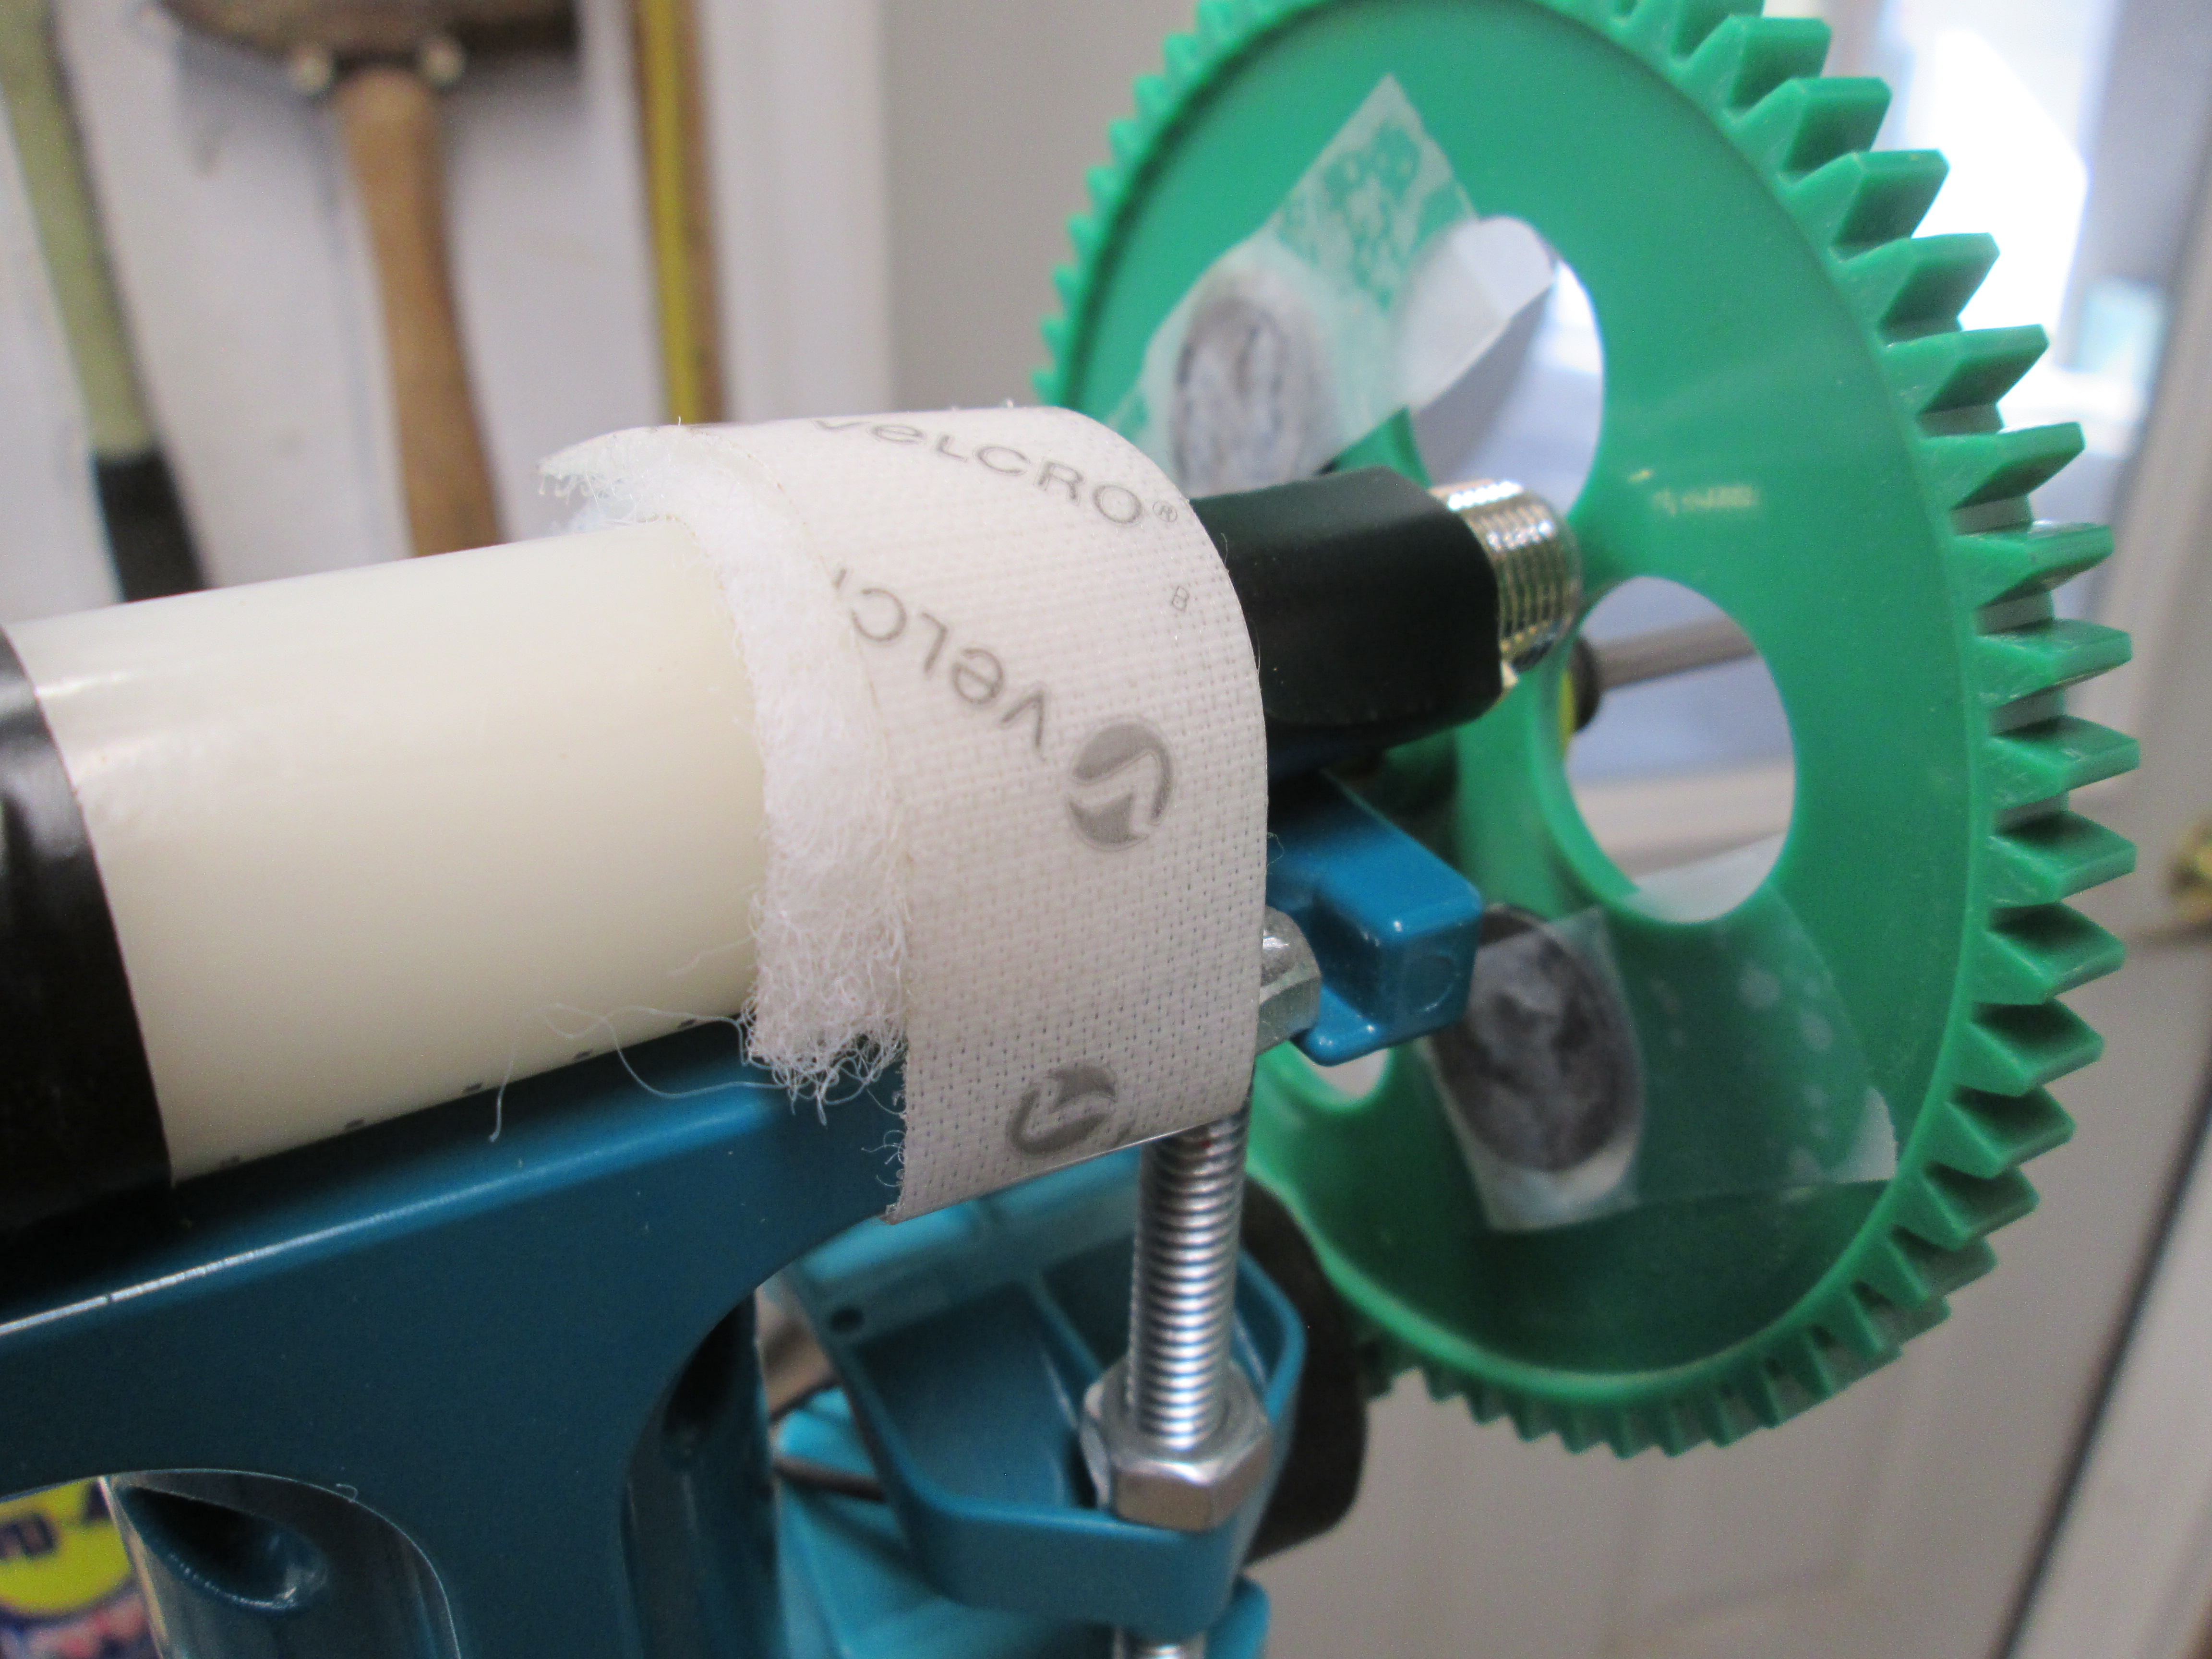
Drilled a hole in the top of the test chamber to put the hot wire anemometer rather that having it on the side like before.

And here is the proof performance. At full motor speed (1750 rpm) 12 m/s. It should be noted that the motor on the fan can be "pushed" because of the short run cycle time we do for testing. This would increase the fan blade rpm up from 300 and that would increase the wind speed. Something the think about in the future.

I think we have got something here that will really "suck" in a good way and impact the future of the KidWind program.


Sunday, February 11, 2024

Single Phase to 3 Phase DURApluse GS10 AC Driver

Turning the blades of this 72" Mega Storm fan requires a 3 Horsepower motor running on 230 volts 3 Phase 3 AC electricity. 

That is going to require some electronics and here they are. A $1500 set of gear and engineering from Tuescher Electric in Darlington, WI. Master electrician and owner, Don Tuescher has been a supporter of the the KidWind program in Darlington and generously discounted this expense with a $1000 donation. As you can see in the picture above this turn key set up had everything I needed to finish the Variable High Speed wind tunnel project.

First and foremost is SAFETY in the wind industry. We intent to "practice what we preach" and make this wind tunnel a teachable moment for the KidWind teams that use it. The LOTO (Lock Out Tag Out) protocol is front and center for KidWind teams to see and experience during the educational presentation of this wind tunnels use and operation. Locking Emergency Stop button that requires unlocking with a key by authorized personel preventing restarting before inspection and any necessary corrective action being taken. 

When the Test Chamber is not attached to the fan the fan blades are unprotected. To eliminate the possibility of anyone coming into contact with the blades a safety system was needed. Another set of interlocks between the removable Test Chamber unit and Fan unit insures that the fan motor cannot be energized unless the interlocks are engaged by having the Test Chamber attached and in place.


And last, but not least. The power cord connecting the Fan motor to the control unit has a unique plug design and matching socket. This eliminated the possibility that if a standard 220 volt welding plug were used it would be possible that someone could plug the Fan motor directly into any 220 volt power outlet thus bypassing all the safety devices. Again a first class operation designed and engineered by Tuescher Electric and his team. 

Having a look inside the control box is another display of engineering and professional craftsmanship. Something that to often goes unnoticed by most but is appreciated and valued by those that work in this field. The KidWind program and this wind tunnel is a lot like this. Sure the excitement and action is in seeing the blades turn but the KidWind teams know all the design work and engineering that goes into making a wind turbine and producing electricity.

I would be remiss if I left you thinking that installing this "plug and play" system was as easy as it looks. When I opened the box on the side of the 3ph motor and saw the 9 wires it gave me pause. I learned a lot!

Here was the set up for the first tests. You can see the anemometer in the middle. The cattle panel with yard flags is at the opening and shows the flow of the air with little wind turbulence.


First tests show a wind speed of 9 m/s (18 mph). Some fun facts. The motor turns at 1750 rpm and is connected to the blades by a gear box that has a 5.85:1 gear ratio. This results in the blades turning at 300 rpm. The 3 phase drive unit can vary the frequency of the 3 phase input power and is set to range from 0 to 300 cycles per minute. So by controlling the input frequency to the motor we can control the rpm of the fan blades and wind velocity. Wallah! More testing and results to follow. Thanks for following along.


Sunday, February 4, 2024

Transport trailer

You may have heard the ol' saying, "You can't make a silk purse out of a sows ear." Well that doesn't stop me from trying. I picked up this trailer this summer for $75 and thought it might make a good transporter for the Variable Speed wind Tunnel.

The tires and top deck were rotted. I had the deck boards to replace the deck and picked up two new tires at Farm and Fleet.

The wiring harness was fried so I had to replace it also. This was best done after the deck boards were replaced so I could put 2x4 cross pieces under the frame because the rotted 1/2" deck plywood would not hold the screws.

Here you can see the 2x4 cross pieces in place. These went into the frame channel on each side. Then the deck board screws went through the 1/2" plywood and anchored into the 2x4's. Now the new wiring could be run through the frame holes and I would have tail lights.

OK, with the new tires, new deck, new wiring and winch added it was time to load up the Mega Storm. Here again more problems that had to be solved. The saying here is, "How do you get 5 pounds of sugar into a 4 pound bag?" Well you take off the door closer on the right door and override the closer so you can manually open it higher.

Next I may have to let some air out of the tires.

What next? A ramp. I needed a way to smooth out the pathway to the trailer deck to the ground. Found these two steel door sheets that I salvaged a few years ago from a boiler replacement project at the school and will cut them down to do the job.

A little cutting work with the plasma torch and I was in business.

Did not realize that the trailer had a tilt bed until I started rebuilding it. Lucky for the tilt and the ramps worked out well.

There are a lot of little tricks to this project that have to be learned along the way. This trick requires that the mid wheels have to be removed or the Mega Storm fan unit will not be able to sit flat on the trailer bed. This would be done midway while the fan was being loaded and the mid wheels would be off the ground.

Two more things that were needed were stop blocks at the front of the trailer so the caster wheel levers that lower the wheels could be raised and fan set on the deck floor. Then there were the side rails. These had to allow for the wheel fenders and be low to clear the fan frame.

What does it mean when someone says, "They are at the end of their rope?" Well in this case it means my winch rope was 6" short to make the hook. Can you believe it. #&@*!

Fortunately is was a beautiful day. War sunny and dry. I will put all the puzzle pieces to the test.

Easy does it.

Huston, the Mega Storm fan has landed! All 700+ pounds of it.

Just a quick test of placing a hold down strap. Also making a weight distribution test using a 2x6 to lever the trailer and get an idea on how top heavy this loaded trailer might be. By my estimation it would take a good 800 pounds to get the wheel off the ground. So I think this trailer will be used to get the Mega Storm to a storage location but will need to rent a larger, heavier trailer to get it to Saint Paul, MN